The world's most intelligent cooking app
I talk a lot about cooking from scratch. Both Vivien and I have made it a focus in our kitchen for several years now. So writing a positive post about a packaged food product is awkward. But, as I always say: “from scratch is a spectrum”—meaning that there are some things at the top end of the spectrum that most home cooks will probably never make from scratch (mustard, gochujang, balsamic vinegar, soy sauce, tofu, cheese), there are things in the middle that seem unattainable at first (pasta, bread, ice cream, kimchi) but become standard practice after a few times, and finally there’s the low end of the spectrum with the easy stuff (chicken stock, tomato sauce) that you just have to decide to make instead of buying.
So, where does ramen broth sit on that spectrum? Could you make it from scratch at home? Yes. Would it be a lot of work? Yes. Would it be healthier than what you can buy in the store? Yes. But for some reason, whenever the subject of ramen broth came up, we’d always shy away from it. In fact, ramen was one of those things on our list of “Things that are better to go out for” along with fried chicken and sushi. But with the discovery of Costco’s Tonkotsu Ramen Broth, that’s all changed.
I don’t profess to be any sort of ramen expert, I’m just a regular consumer. One of my all-time favorites is the Special #9 from Santouka at the Mitsuwa Market food court on Centinela and Venice in LA. That was our go-to destination on holidays when the traffic was lighter than normal and we could make it there from West Hollywood in less than 20 minutes. I’ve had quite a bit of ramen in Japan as well, including an amazing place called “Dining Kitchen Wonder” in Furano, Hokkaido that served some of the best I’ve ever had. Still, I don’t expect my ramen opinions to carry a ton of weight—there are many other people with far more knowledge than me. What I can say with confidence is that I love ramen, and after moving to Montana, we found our options limited. So the idea of making it at home was top-of-mind.
But, in 6+ years, we never did, and I’m not quite sure why. We eat a lot of pork and we have a great local butcher, so we could easily get the necessary ingredients. And recipes are available everywhere. Here’s one, for example: https://glebekitchen.com/tonkotsu-ramen-broth-home/, with the foreboding quote “This is a descent into madness. I’m making the tonkotsu ramen broth from scratch.” It’s not a particularly difficult technique, but it does take 12+ hours of cook time. Still, we do stuff like that fairly often, so that’s not quite it either. I think the main reason for the avoidance was that we knew we’d probably use all of it in just a few meals, and then we’d have to go through the entire process again. So, if we wanted to keep eating fully homemade ramen, our kitchen would have to become a ramen broth factory, and that would probably prevent us from doing other things. Maybe we’d enjoy ramen less because of all the work. That’s the best explanation I can come up with.
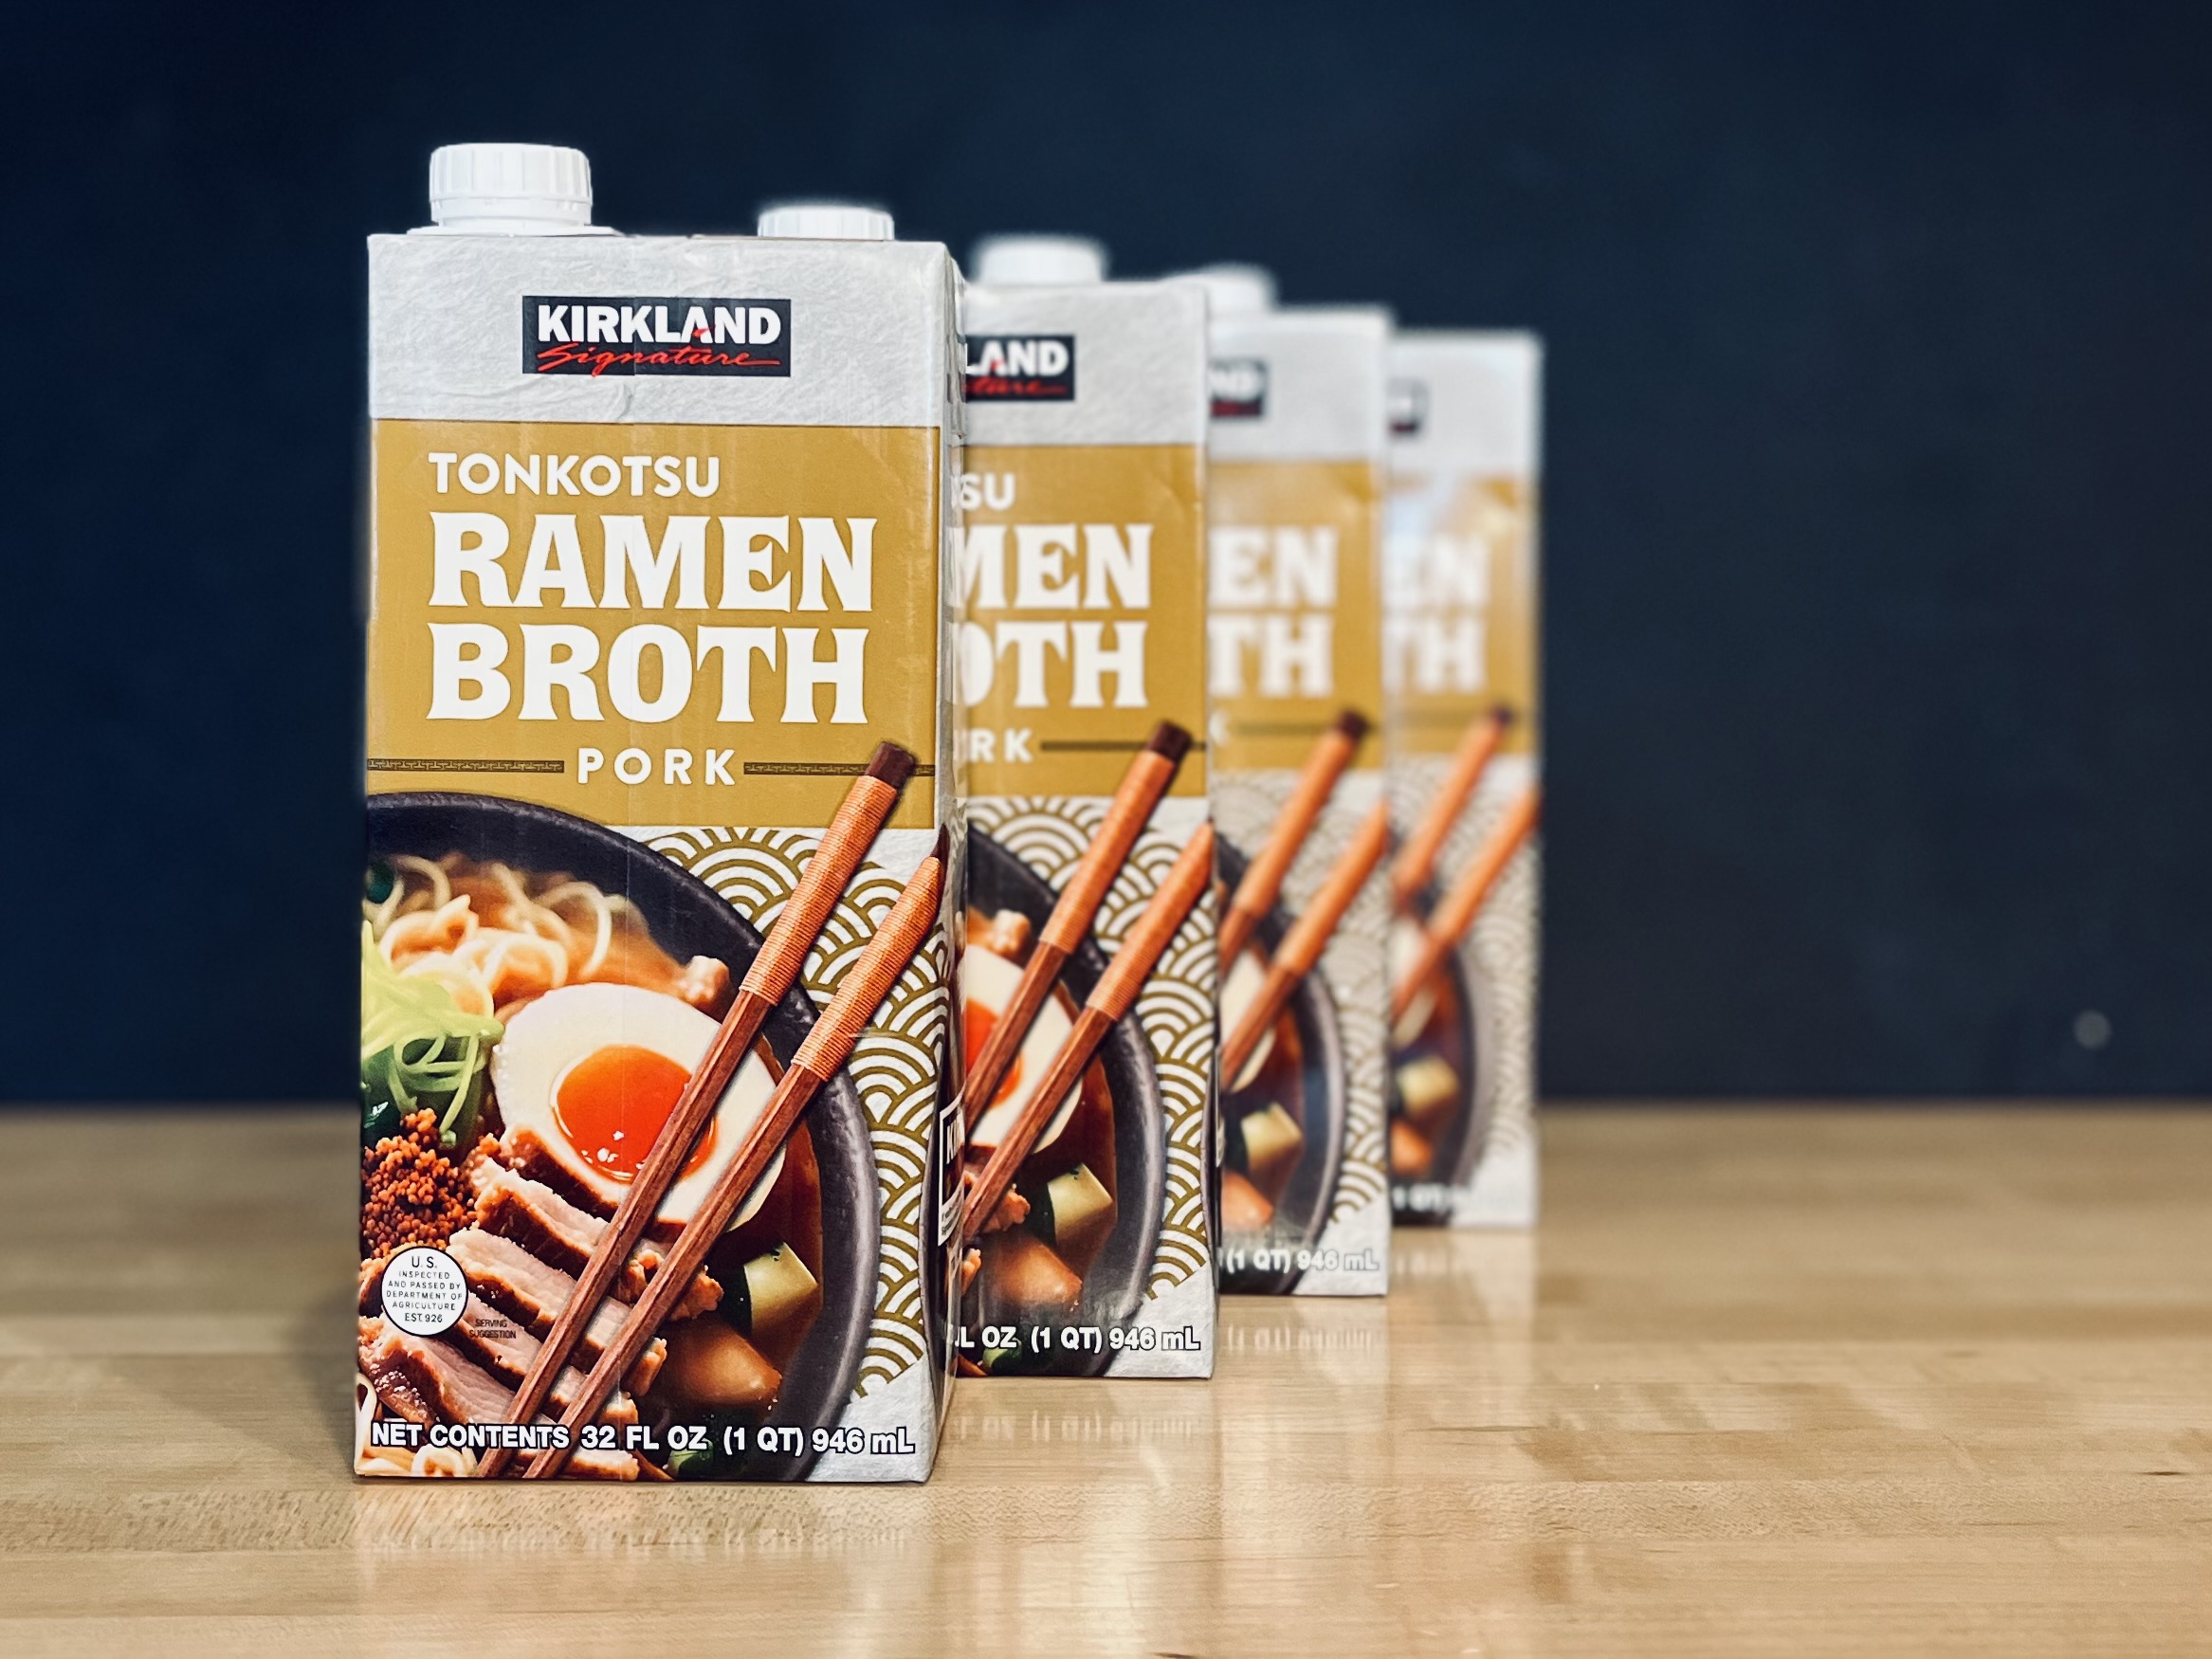
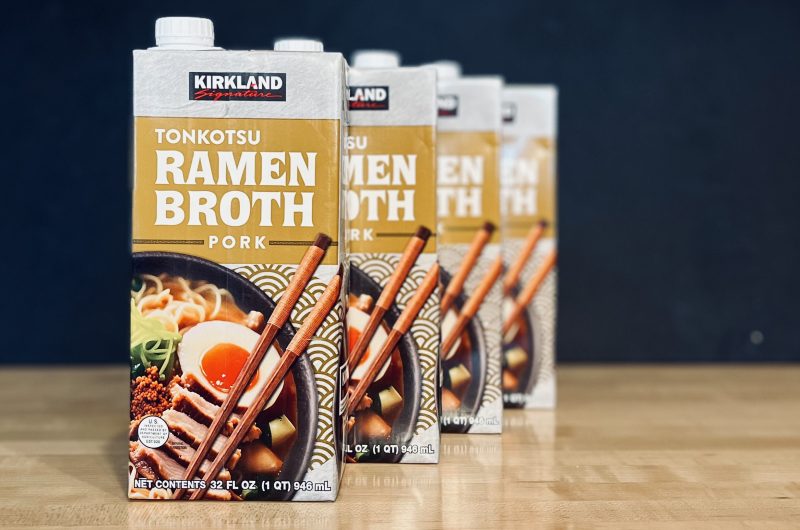
Cut to a few weeks ago on one of our regular Costco runs, and we see a big stack of Kirkland-branded “Tonkotsu Ramen Broth.” My eyes lit up. There’s something about Costco that always amazes me. They’re a huge box store that sells very good quality products and has become a significant influence on mainstream American food culture. You’ll often find products that are just on the cusp of becoming a standard component of the American kitchen (like Kimchi), and simply the presence in Costco is enough to create a tipping point. I have a lot of respect for their purchasing managers too. The products they choose (like Bibigo mandu) are the same you’d find in Korean grocery stores in LA, so there’s authenticity in their approach that builds trust. And the Kirkland-branded products are usually very good as well. So, when I saw the Tonkotsu Ramen Broth, my first thought was “I bet that’s good,” and I was right.
What are the ingredients?
We always check the ingredients on the package and we avoid products with artificial ingredients, seed oils, etc. That’s a good practice to get into, even if it means you don’t always get what you want. As DeNiro’s Neil McCauley says in Heat, “that’s the discipline.” Looking at Kirkland’s Tonkotsu Ramen Broth, here’s what’s in it:
- Water
- Concentrated Pork Stock
- Chicken Fat
- Pork Fat
- Onion Puree
- Salt
- Brown Sugar (Sucrose, Molasses)
- Potato Starch
- Garlic Puree
- Natural Flavors
- Yeast
- Yeast Extract
- Shiitake Extract
- Spice
- Rosemary Extract
Other than the somewhat ambiguous “Natural Flavors,” nothing in this list would be a no-go for us. It’s not health food, but that’s not what we’re looking for with ramen. So, this passed our ingredient test. One thing to note is the Yeast Extract which is considered “ultra-processed” due to the production method. Its main issue is sodium content, so we’re ok with it as long as it’s not a daily thing.
Does it taste good?
As soon as we got home, I opened one of the 1 quart boxes (it comes in a 4-pack) and took a swig right from the box. “Wow!” was my instant reaction. It’s very flavorful, with what I thought at first were tones of ginger, but realized after glancing at the ingredients list that it couldn’t be ginger…unless that’s what “Natural Flavors” or “Spice” was referring to. It’s salty for sure, but salty in the way you want it to be. The saltiness doesn’t feel like it’s covering for lack of flavor, but instead saying “you don’t need to add anything else,” as well as “don’t drink me all by myself.”
As for the consistency, it is a bit thin, but not too thin. I’ve read elsewhere that people have been adding some gelatin to thicken it up (I don’t recommend reducing due to the already high sodium), but we didn’t find a need to make any adjustments. It’s nice and milky looking too, which adds to the authentic feel.
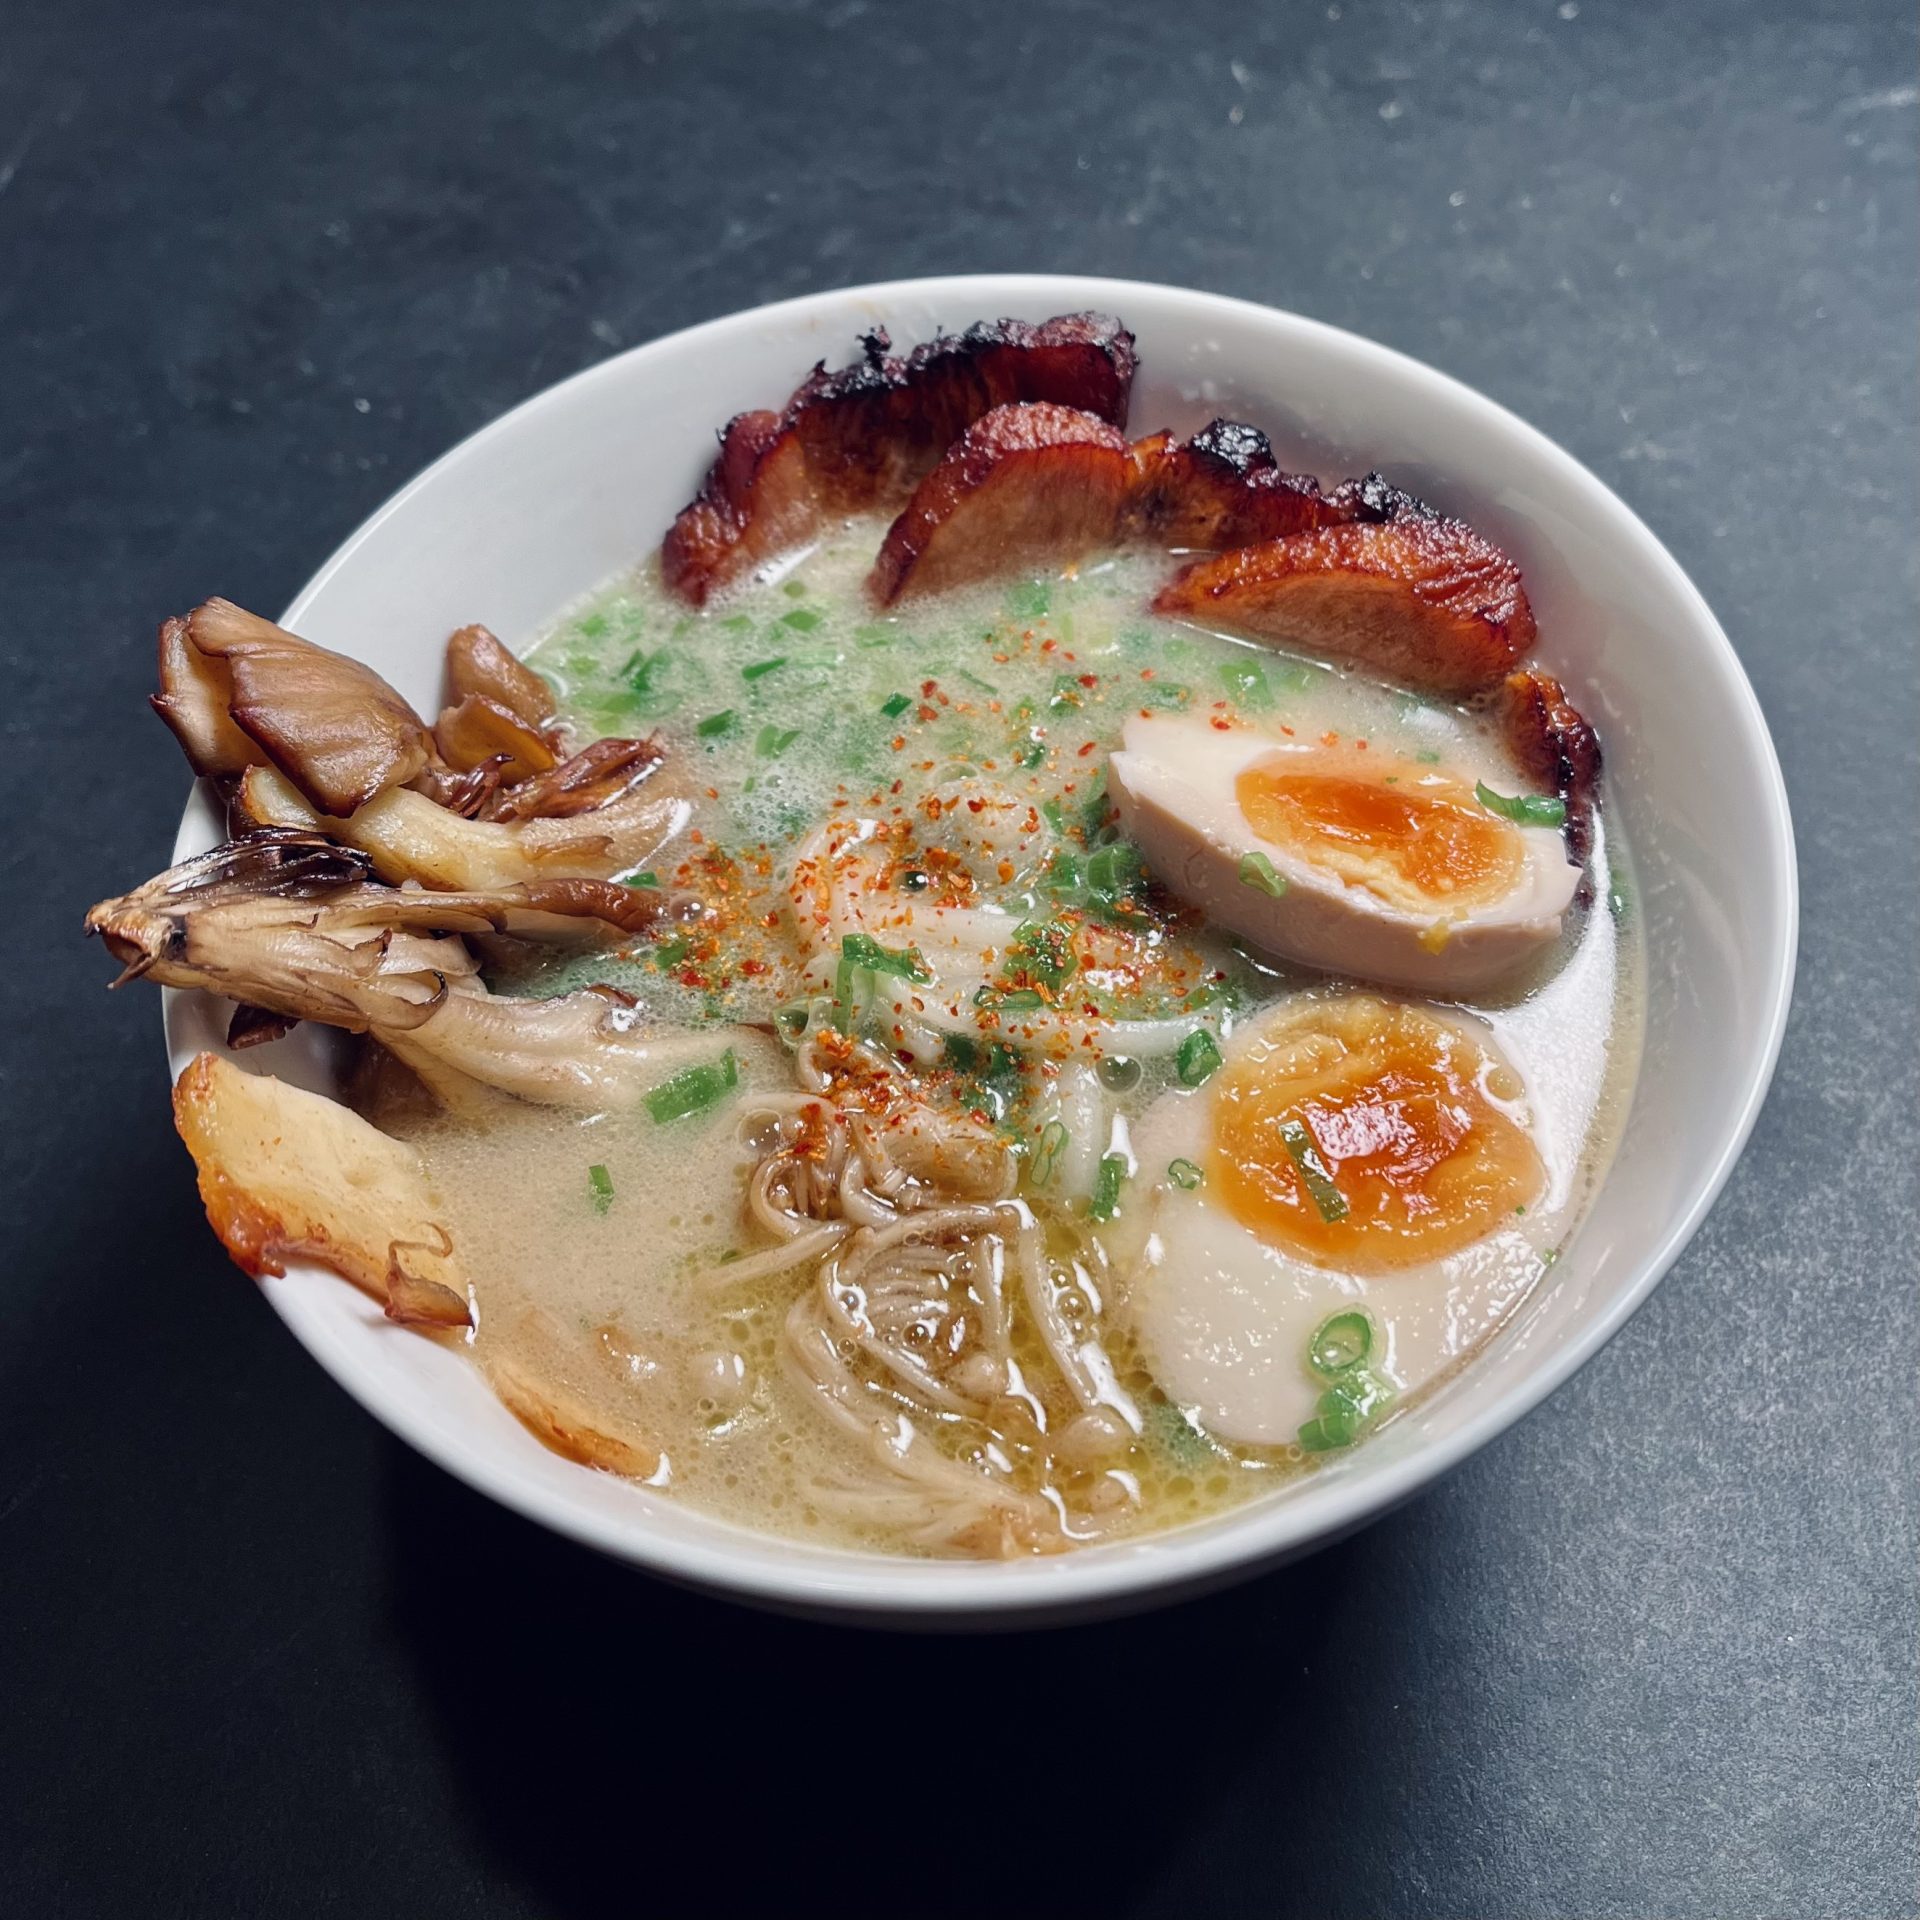
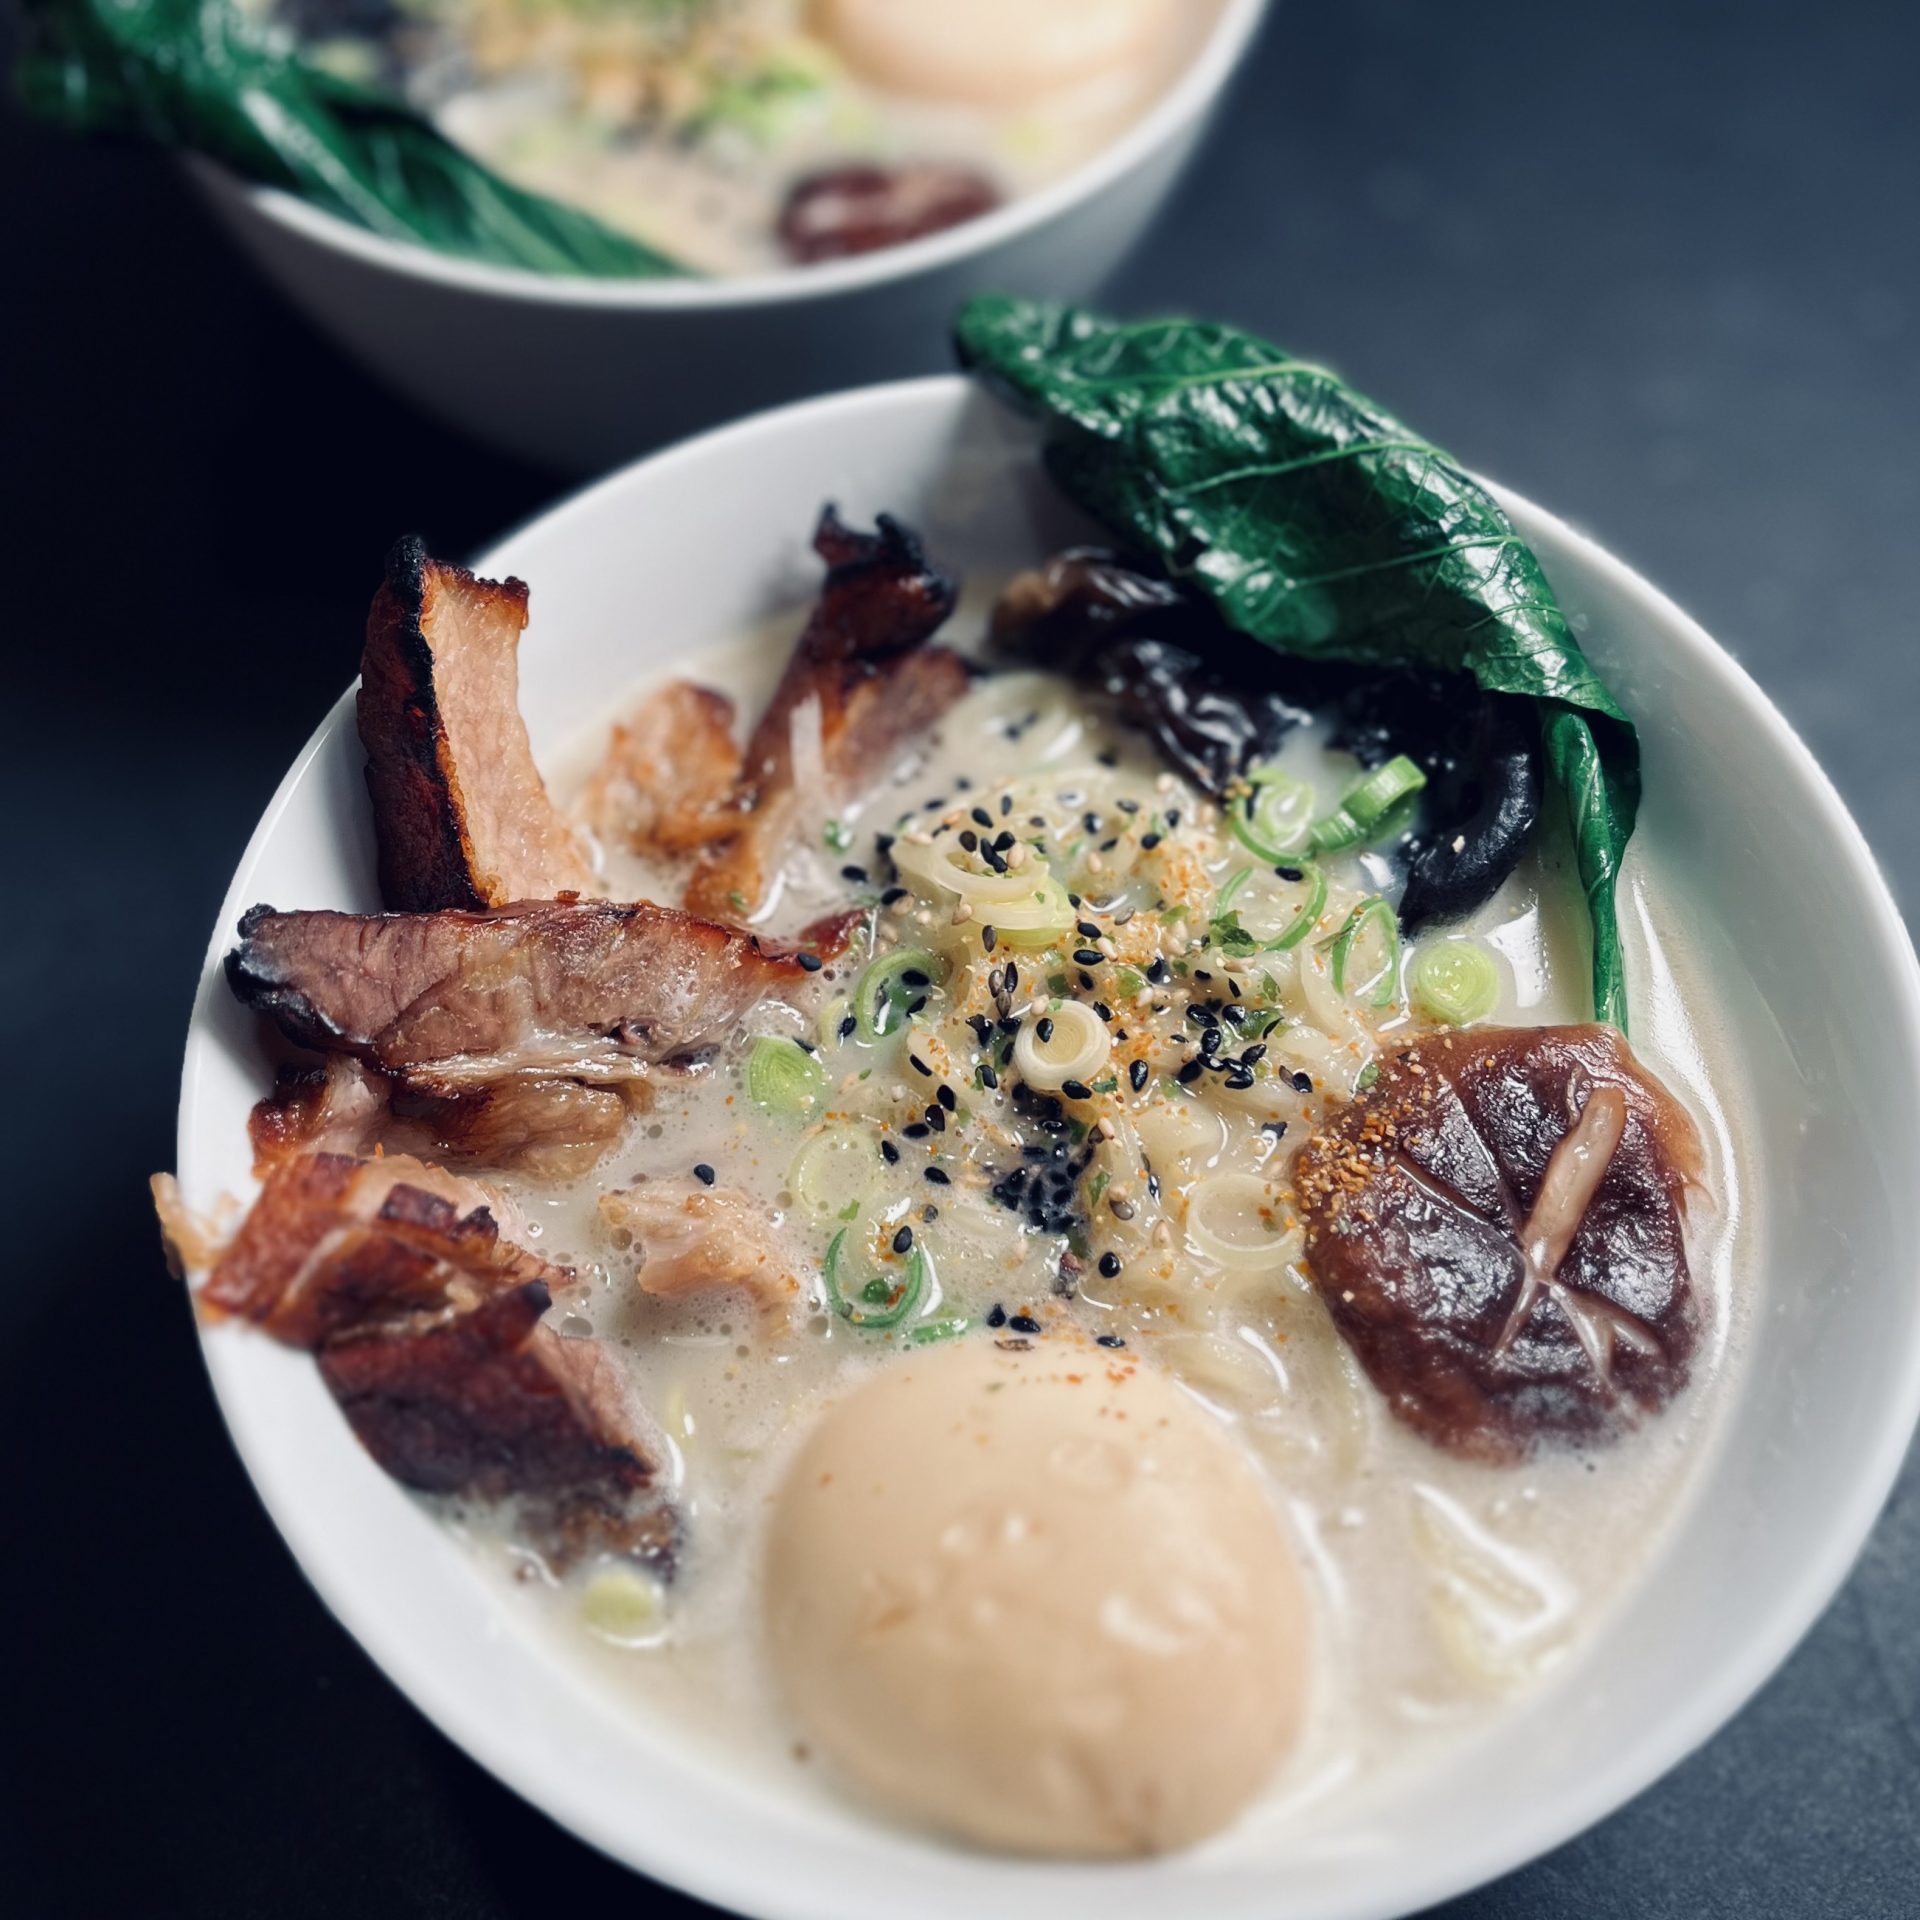
Since our first purchase about a month ago, we’ve now made ramen 4 times. Each has been pretty similar: chashu pork, ramen eggs, various mushrooms and vegetables. We’ve used different types of noodles that we have in our pantry, including instant ramen noodles (Korean Ramyun), and various other dried noodles including ramen, somen and udon. At some point, we’ll try making our own ramen noodles at home, but that’s a different story.
We very quickly realized that we can scratch ramen off our list of “Things that are better to go out for.” The Costco broth is that good, and as long as they carry it, we’ll be eating ramen at home instead of going out. Aside from the broth and the noodles, the most important other ingredient is the chashu pork. That’s something I make a lot, so I’ll share the recipe from TasteMatch below. For two people and a 1lb pork belly, you can get 3-4 ramen meals out of it. Just slice as much as you want for your ramen and broil for a few minutes to crisp it up. The rest can be placed back in the fridge (marinating in the leftover braising liquid) and should keep for a week or so.
How to make ramen eggs
Ramen eggs are basically jammy eggs that are marinated in soy sauce, mirin, water, kombu and ginger. Here’s the method from TasteMatch:
For classic ramen eggs (ajitsuke tamago), gently lower cold eggs into boiling water and cook 6½–7 minutes for a jammy yolk, then plunge into an ice bath, peel carefully, and marinate at least 4 hours (overnight is best) in a mix of 1/2 cup soy sauce, 1/2 cup mirin (or 1/3 cup sugar + 2/3 cup water if skipping mirin), 1/2 cup water, and an optional small piece of kombu and a slice of ginger; keep the eggs mostly submerged with a paper towel on top. To use in a serving of ramen, gently reheat in the ramen broth (don’t cook), slice in half lengthwise and place in the bowl face-up alongside other ingredients.
– TasteMatch
We live at 5,000 feet, so boiling eggs according to standard directions is always tricky. Altitude really matters with anything you’re boiling. For ramen eggs, we found 6 1/2 minutes to be too short and 7 1/2 minutes to be pretty close to perfect. Results may vary, so try it yourself with one egg before committing. Be sure to drop in an ice bath right way to stop the cooking process.
What else to add to ramen?
In addition to chashu pork and ramen eggs, here’s a list of our typical additions to ramen made at home.
- King oyster mushrooms (sliced and browned in butter)
- Maitake mushrooms (separated, trimmed and browned in butter)
- Shiitake mushrooms (stem removed, star pattern cut if you’re fancy, browned in butter)
- Baby Bok Choy (individual leaf + stem separated, quickly sautéed or blanched)
- Komatsuna (same prep as bok choy, trimmed to fit)
- Shoyu Tare (soy sauce + mirin + sugar + sake + kombu reduced until thickened)
- Shichimi Togarashi
- Sliced green onions
You can (and should) prep the mushrooms and vegetables in advance so you’re ready to go when you put the bowl together.
Final thoughts
I’ve realized over time that taking extreme measures might feel good for a moment, but typically doesn’t result in lasting change. What matters more is building habits over time and progressing consistently towards an objective. So, if you want to start cooking from scratch, don’t just decide to make everything from scratch all at once. You’ll likely be overwhelmed and give up. Instead, start making a few things from scratch and slowly evolve until a majority of your cooking starts with basic ingredients. Accept the fact that you’ll probably never get there 100%. Nobody does. Not even the most motivated chefs.
Along the way, you’ll find what I’ve started calling “catalyst products” that help you take a step forward in your #allfromscratch journey. For us, Costco’s Tonkotsu Ramen Broth is one of those. We now make ramen at home whenever we want, something we hadn’t done before. And this means we’re more likely to consider making our own broth and noodles over time as we continue our progression. It’s been an inspiration.
See below for my Chashu Pork recipe.
Servings
4
servingsPrep time
15
minutesCooking time
3
hoursIngredients
1lb slab of pork belly (skin off for ramen)
1/2 cup soy sauce
1/2 cup cooking sake
1/2 cup mirin
1/2 cup water
1/4 cup sugar
5 cloves garlic, smashed
1 inch ginger, sliced
2 green onions, cut into 2-inch pieces
Directions
- Brown the pork belly: Pre-heat your oven to 300F (~150C). Heat a heavy braising pan stovetop over medium heat. Place the pork belly fat-side down in the pan. Render the fat until the fat side is nicely browned. Flip and brown the bottom. If you’re motivated, brown the sides and ends by holding the pork belly slab with tongs. Once browned, set the pork belly aside on a sheet-pan or plate.
- Sauté the aromatics: Add all of your aromatics to the pan with the rendered pork fat. Stir constantly until softened and just slightly browned. Be careful not to burn.
- Add the liquids: Add the soy sauce, sake, mirin, water and sugar to the pan. Place the pork belly in the pan fat-side up. Do what you can to avoid putting it on top of the aromatics…I typically slide on an edge to clear a space. It’s easier than it sounds. The pork belly should be mostly submerged in the liquid with the top exposed. If it’s not, add more water.
- Braise the pork belly: Once the liquids come to a boil on the stove-top, put the lid on the braising pan and transfer to your 300F oven. Set a timer for 2 1/2 hours. There’s no need to check during the cook. You can let it go 3 hours if you prefer softer.
- Rest the pork: After the braise is done, remove the pan from the oven and place the pork belly on a sheet-pan or plate to rest. While it’s resting, strain the braising liquid into a container and let it cool. You’ll use this to marinate the leftover pork in the fridge, so pick a container with a tight fitting lid.
- Slice and broil the pork: Preheat your broiler. Once the pork belly has rested for about 30 minutes, slice as much as you want for your ramen (crosswise, 1/4 inch thick). Just before you’re ready to serve the ramen, place the slices on a foil-lined sheet-pan and broil on both sides until browned and slightly crispy (don’t overdo it, just a bit of sizzle), then add to the bowl.
- Save the rest: Place the remaining unsliced pork belly in the container with the braising liquid. Cover tightly and refrigerate. It should keep for a few days at least. You can follow step 6 every time you want to make ramen.